The most important thing that you need to get right when installing cabinets is that they should be installed level so that the doors can open easily and it doesn’t ruin your kitchen.
After laboring for hours, you might end up noticing that all your hard work is slipping away on the slanting surface of wrongly installed cabinets.
Believe me, there is nothing more annoying than that.

With the help of a good quality laser level, you won't have to worry about that bad scenario.
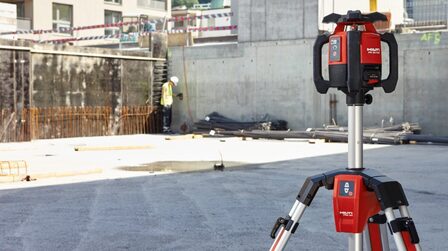
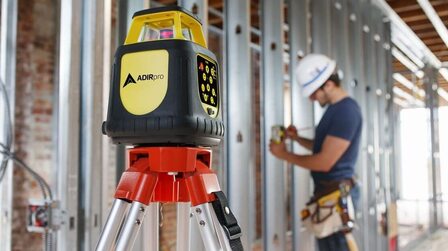
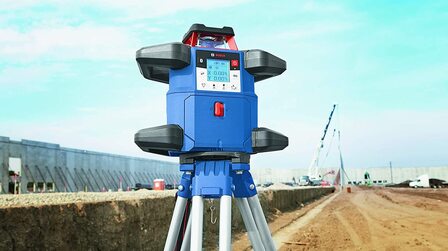
Nowadays, a laser level is one of the most useful devices that can make the tedious process of cabinet installation quicker and simpler.
Before we go through essential how-to steps to install cabinets using a laser level, let's take a look at the tools and materials we will need for this task.
Tools
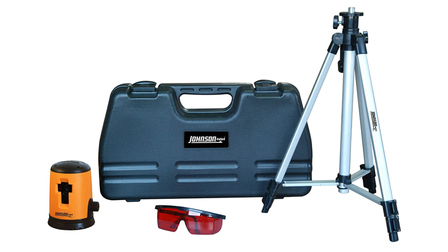
- Laser level with a tripod
- Tape measure
- Bubble level
- Stud finder
- Screw gun
- Pencil
- Clamps
- Ready-to-assemble cabinets
- Wood shims
- Screws
- Ledger board
How To Install Cabinets Using a Laser Level
Follow these steps to install cabinets using a laser level:
- Measure and mark
- Mount the ledge board
- Install cabinets
- Attach hardware and doors
Let's dive into the details!
Step 1 – Measure and Mark
This is the most important step in installing cabinets. You get this wrong, you mess up the whole task.
First, measure the height of the cabinet you are about to install.
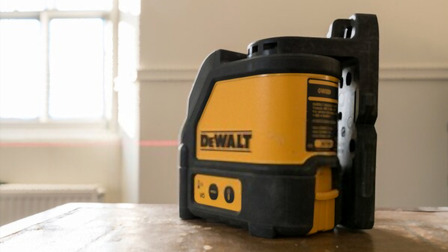
Now, mount the laser level on the tripod couple of inches away from the wall on which you are about to install cabinets.
If the tripod’s height isn’t enough, you can place it on a table or any other raised surface.
Now set the pre-determined height in the tripod and turn the laser level on. You will see that the device projects a laser beam, creating a virtual chalk line on the wall.
Though there is no need to draw a line, if you feel more comfortable with using markings, you can draw a line using the laser beam as a reference.
Using the best laser level for cabinet installation will save you huge time for leveling job.

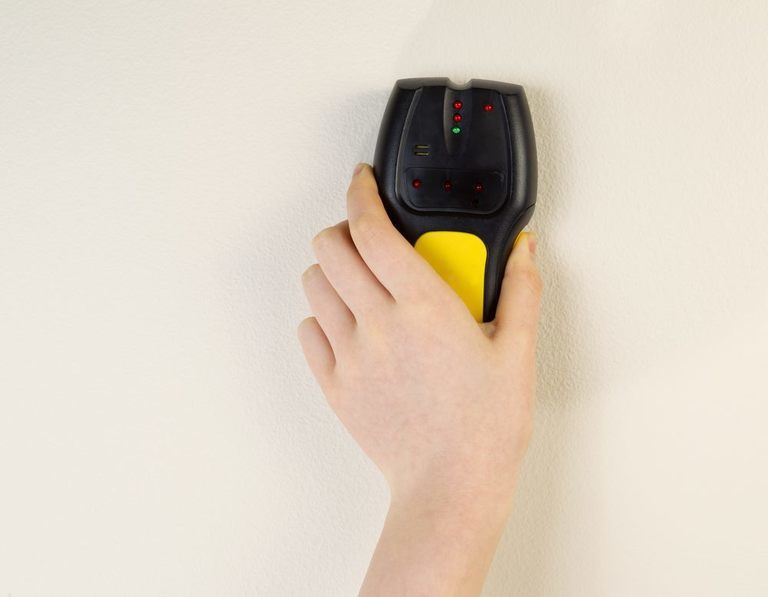
Also, use the stud finder to find the studs. The wall studs are critical as the entire weight of the cabinet will be supported by it.
Pay high attention to the placement of the plumbing and electricity wires.
Step 2 – Mount The Ledger Board
Mount the support (ledger) board on the wall on the marked out studs.
This board will temporarily support the weight of cabinets during the installation process and has to be just below the base of the cabinets to be installed.
 Photo by www.lowes.com
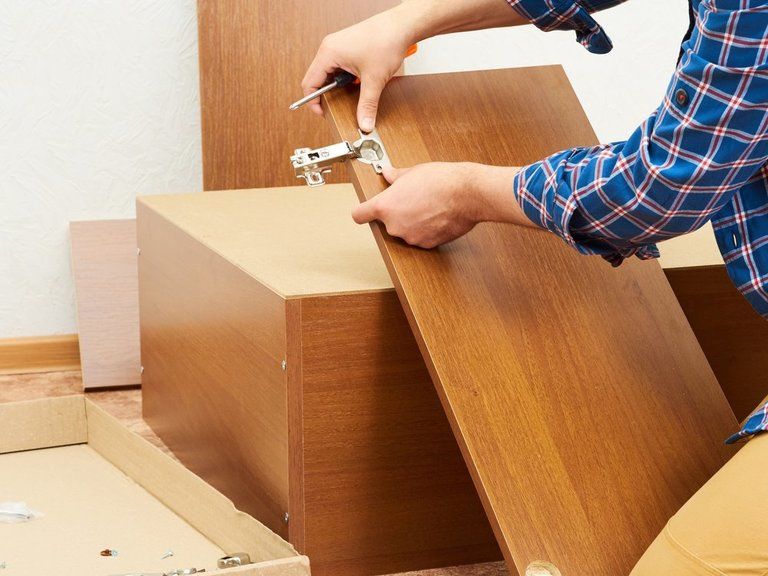
To make the cabinets lighter and easier to handle, remove the hardware and the doors.
Step 3 – Install Cabinets
You have two options. Either you can install a single cabinet or attach as many cabinets together as you can safely lift.
If you have assistance for this step, bundle multiple cabinets together. However, if you are alone, it will be better if you go with two at a time.
Use a screw gun to attach the two cabinets with screws. Make sure that you are affixing one screw at the top and another at the bottom of the sides to secure cabinets.
You don’t want cabinets falling apart while you are in the middle of installing it.
Also, use a bubble level or a digital level to check whether the cabinets are perfectly aligned or not.
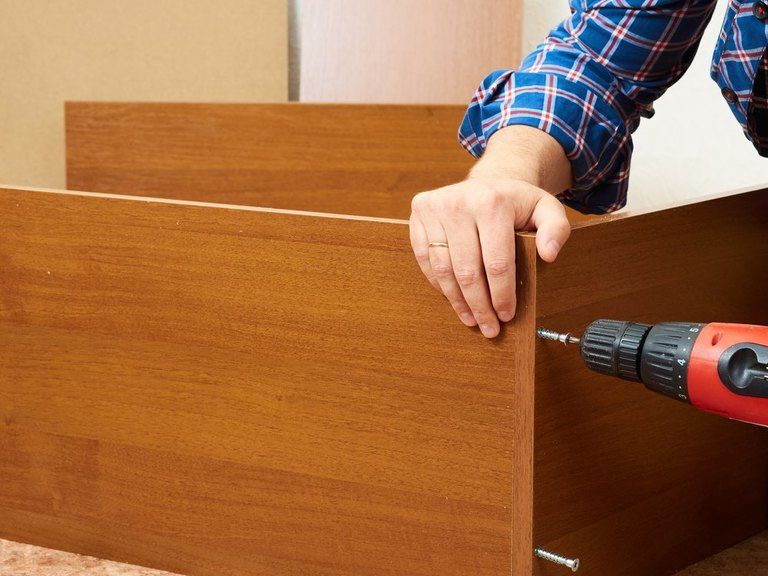
Secure the cabinets into the wall at the studs. Make sure that the top of cabinets corresponds with the markings or the laser beam of the laser level.
Also, drill the screws through the thicker cabinet frame beforehand.
Repeat the above step for all the cabinets.
If the gap exists between the wall and last cabinet, use a filler board provided by the manufacturers.

Find out which rotating laser level is best for cabinet installation here!
Step 4 - Attach Hardware and Doors
Now, move on to the simpler things.
Attach all the hardware and the doors to the mounted cabinets.
Also, remove the ledger or the support board that we had installed to support the weight of the cabinets.

As you have seen, installing cabinets is fairly a simple job but you have to get the basics about alignment and level right.
If you mess the placement of cabinets on the wall, you shoot yourself in the foot.
Final Words
A laser level could be a good investment for your cabinet installation and other home remodeling projects.
Such a move will increase your efficiency and accuracy, as you will no longer have to constantly check if your work is still level.
For your best understanding about laser levels, read through my latest guide on how to choose the best laser level.
See also:Laser Tape Measure Reviews


