If you live in an apartment and pay rent or own your own home and make monthly mortgage payments, you probably take pride in the place where you reside.
You care about its appearance and want it to look good and be comfortable, too.
A clean, handsomely-furnished home matters. Adding “extra” touches like wallpaper can really make your home special.
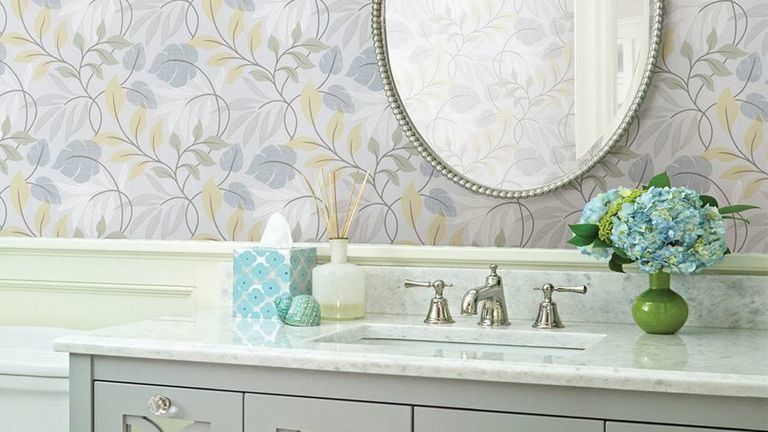
Most creative homeowners install wallpaper in their living rooms, family rooms, bedrooms, even kitchens. But, if you want your home to really stand out, you may also consider “dressing up” your bathroom. Interestingly, and perhaps surprisingly, it’s easy to do.
In fact, what follows is a comprehensive, step-by-step guide to wallpapering a bathroom. So, if you want your home to be a showplace, continue reading.
You’re about to learn just how simple it is to transform your bathroom (or bathrooms if you have more than one in your home) with simple tools and basic do-it-yourself skills.
Choose The Right Kind of Wallpaper for Your Bathroom
It is actually a very easy decision
Bathrooms have shower stalls and tubs. Most importantly, they are home to frequently running water. When you shower or bathe in a tub, you always create damp conditions and moisture. Condensation often leaves the walls of your bathroom wet.
Ordinary or standard wallpaper is made of “paper only” and will not stand up to the damp, wet conditions that occur daily in a bathroom.
Obviously, you need the kind of wallpaper that is resistant to water and damp conditions. Fortunately, it exists and is available to you in virtually all retail stores and online stores where wallpaper is sold.
In truth, there are currently three kinds of wallpaper available. Read the descriptions below before you decide which type of wallpaper you prefer.
1 - Solid Vinyl Wallpaper
The solid vinyl wallpaper is durable, non-absorbent wallpaper that is available in a broad variety of colors and patterns.
It is made completely of vinyl which makes it ideal for use in your bathroom. Vinyl is mildew-and-moisture-resistant, a fact that means this type of wallpaper will always look fresh and new.
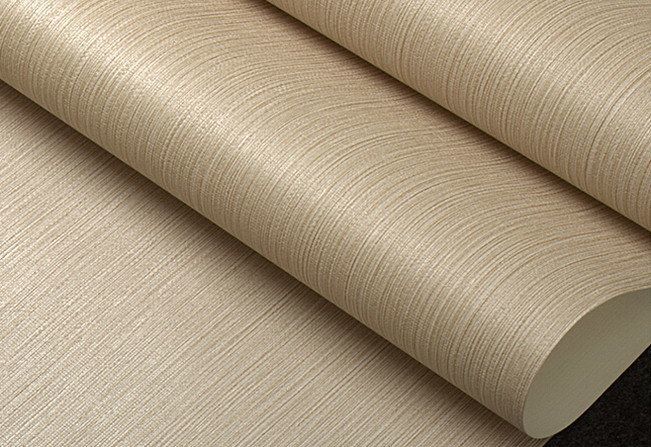
Importantly, as is true for all modern wallpaper, it has self-adhesive backing. All you have to do is dampen it with water and apply it to your clean drywall. That’s it.
The wallpaper will stick to the wall and dramatically alter and improve the look of your bathroom.
Of course, wallpaper can be a little tricky. Often, when “pasted” to a wall, the initial application leaves air bubbles. So you may have to “smooth out the paper” to eliminate the bubbles. Fortunately, there is a tool that can help you do that. It is described later in this article.
2 - Common Wallpaper
This type of wallpaper is no longer as common as it once was, but is still readily available in brick-and-mortar stores and online, as well.
While it is available in a wide range of colors and patterns, it generally does not have self-adhesive backing. That means you have to apply paste to the back in order to install this type of wallpaper on your wall. And that makes this type of wallpaper much more difficult to install.
The paste, or glue as some people call it, is more difficult to apply smoothly and, as a result, it will take a greater effort from you to “smooth out the air bubbles.”
However, if you like a challenge and consider yourself a skilled do-it-yourselfer, this type of wallpaper may be best for you.
If this kind of wallpaper appeals to you, your best bet may be to find a style that also includes a laminate finish. That will make it easier to “hang” this paper on your bathroom wall.
The laminate finish will also enable this kind of wallpaper to better resist the inevitable humidity that always exists in a bathroom.
3 - Vinyl-Coated Wallpaper
It differs from solid vinyl wallpaper because it only features a protective coating on its front that is made of acrylic vinyl or polyvinyl chloride. This type of paper is humidity-resistant and constructed to last as long as solid vinyl wallpaper.
And, as is true for the other styles noted above, vinyl-coated wallpaper is available in many different patterns and colors.
Importantly, solid vinyl and vinyl coated wallpaper are easy to clean and maintain. All you need is a dampened cloth or paper towel that you can use to wipe the surface clean of toothpaste stains, water condensation or general dampness.
You should have very little trouble selecting the type of wallpaper that is best-suited to you and your bathroom. However, it is a good idea to visit a store to see, pick up and touch the wallpaper you choose for your home.
Now that you know what kinds of wallpaper are available, it is worth discovering – and it’s important – to know what kinds of tools you’ll need to successfully cover your bathroom walls.
I’ve compiled a list of the simple supplies you’ll need to start and complete this do-it-yourself project. Here is everything you need.
Supplies to Wallpaper a Bathroom
Most wallpaper available today includes self-adhesive backing. That means it is much easier for you to “paper your walls” than it was years ago.
There is no need for paste or glue, for buckets and that means there’s little or no chance for you to make a mess or a mistake.
Here is what you need to get the job done.
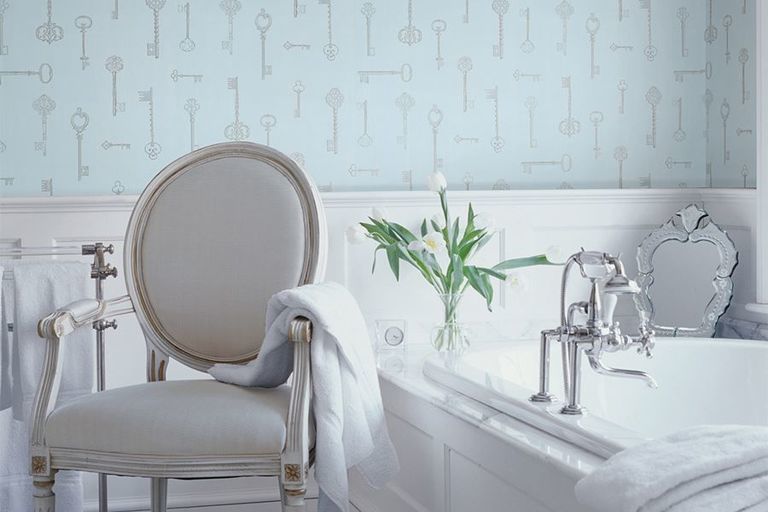
Wallpaper
It seems obvious, of course, but the fact is that you need to buy enough wallpaper to match patterns on each section of paper you put up on the wall.
There will be cutting and waste. So make sure you buy a sufficient amount of paper to make up for the small pieces you cut and can’t use.
Razor blades and sharp scissors
The razor blades will come in handy when you have to make precise cuts to fit wallpaper in a corner of the wall.
And the scissors will help you make neat and precise cuts to the wallpaper you’re using to cover your bathroom wall.
A straight ruler
It will help you line up the patterns on each section of wallpaper you paste to the wall.
A wet brush or rag
This is the simple “tool” you’ll need to smooth out rough spots and air bubbles so that your wallpaper lies perfectly flat on the wall. In fact, you can also use a plastic scraper to smooth out your wallpaper.
That’s it. Wallpaper is now so easy to install that the simple items noted above will enable you to wallpaper your bathroom “like a pro.” And, as you can see, it won’t cost you very much money to acquire and assemble these items.
Finally, you’re ready to wallpaper your bathroom walls. But, you may be asking yourself, how do I actually do it? The following steps will help you complete your do-it-yourself project successfully.
Step by Step Guide to Wallpaper a Bathroom
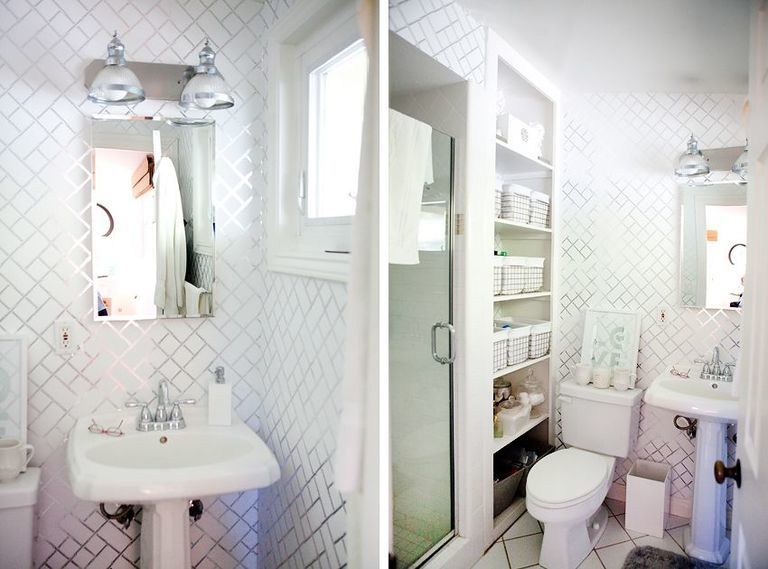
Step 1: Prepare your supplies
Set up all the supplies, including the basic tools mentioned above at the work site (your bathroom) so that you have easy access to them once you start working.
It seems obvious, but it’s also easy to forget to have everything available. So make a checklist and bring everything with you into the bathroom.
Step 2: Clean the walls
Your walls need to be dry and clean – no bumps. Use a dampened towel or sponge to wipe down the walls before you start putting up wallpaper. If there are holes in the wall, spackle and fill them.
Step 3: Measure your wall and the wallpaper
Use a measuring tape or a laser measure to measure your wall from the ceiling to the top of the baseboards. Then, measure your wallpaper.
You’re going to have to make cuts to cover your walls perfectly. Correct measurements will make your job easier.
Step 4: Hang wallpaper on your wall
Start papering your wall. Your measurements should make this an easy step.
Once the paper is on your wall, smooth it out with a sponge or a brush. You need to eliminate the air bubbles.
Step 5: Cut wallpaper
Cut wallpaper at the baseboard and at corners to make sure everything fits perfectly and appears seamless.
That’s about it. Of course, there is still one thing left to do.
Conclusion
Remember. There are many patterns and colors for you to choose from and one is likely to catch your eye. Shop around, find the right wallpaper for your bathroom, bring it home and start your do-it-yourself project. It promises to be fun and rewarding.

