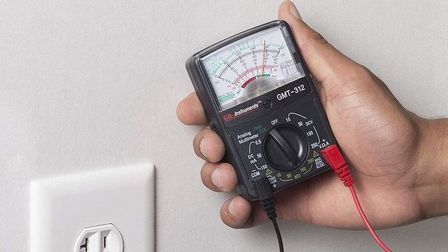
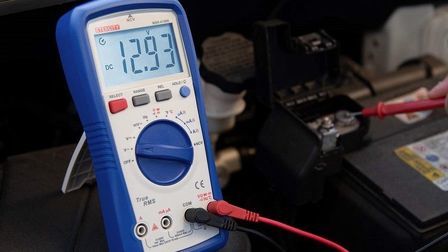
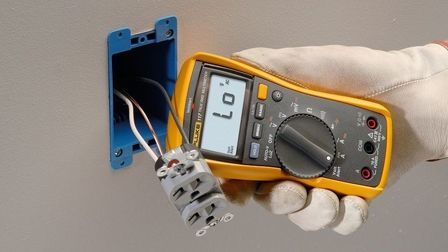
Do you know that the general-purpose multimeter that you have in your toolkit can save your and your family’s lives?
You heard that right, and today we are going to show you how. This article will take you through the process on how to use a multimeter to test an outlet in your house.
As a homeowner, there may come times when you want to test the wall AC outlets of your house to check if they are functioning properly or if they are leaking.

Especially in monsoon season and when it is snowing, it makes sense to keep these outlets on check to avoid damage to your electronic home appliances and gadgets (due to spike or surge).
As most of our systems, like the Wi-Fi router and the alarm system, are always connected to the power supply, it is important to check these electrical outlets every once in a while.
No matter how safe the electrical wiring in your house is, such outlet tests should be carried out at least once every year. And with a pocket digital multimeter, it will take you less than five minutes. Here’s how.
More multimeter how-to guide:
How to Use a Multimeter to Test an Outlet?
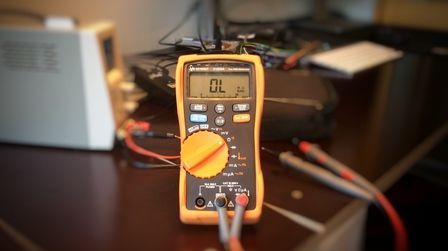
The process of checking an electrical outlet is very simple as outlined below. Before doing it, however, we recommend testing your multimeter for any faults or battery issues.
Since we are also dealing with alternating current (AC) (range: 120 to 240 V depending upon the region), it is important to first assess the condition of the meter.
Testing an outlet usually entails the following:
- Checking the voltage supply through the socket
- Checking the neutral/ground connection and confirming it is zero
- Checking the case ground/earthing connection (which has to be zero)
Once you ascertain the proper standing of the meter, follow these steps:
Steps to Test Outlet with a Multimeter
#1 - Choose the outlet you want to test.
As mentioned under “Useful Tips and Tricks” below, in addition to the voltage range, the socket design also differs from region to region.
This example uses a socket that is prominent in Asian countries. There’s not much difference, but if you are in the United States or in Europe, the three holes that look like an “alarmed face” will act as:
- Small hole (right) is usually the one with voltage (referred to as ‘live’ hereafter)
- Larger hole (left) will then be the ground side or neutral (out) (referred to as ‘neutral’ hereafter)
- The third hole (below) is case/common ground (also known as earthing) (referred to as ‘earthing’ hereafter)
Shown below is how the AC outlet in American and European countries look like.

#2 - Select AC voltage function
When testing the wall outlet, we are always testing for AC. Therefore, the first step is to select the AC voltage function in your multimeter (usually marked as ‘V’ with the symbol of the sinusoidal wave)

The display should read random, non-constant numbers as the probes are picking up stray/static voltage present in the atmosphere
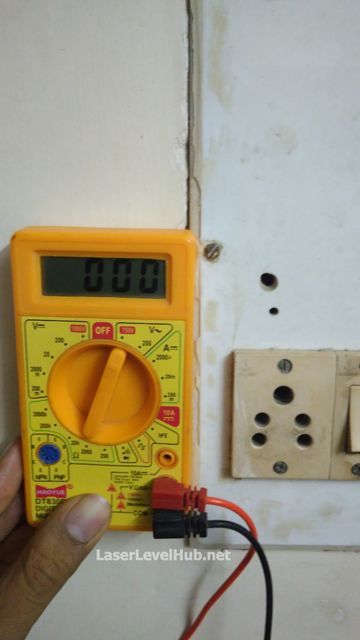
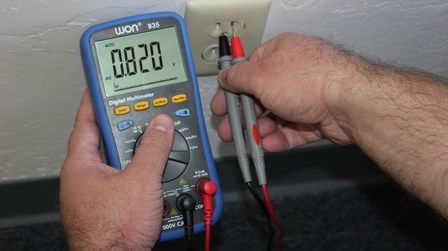
#3 - Use the two test probes and do the following iterations:
a - Connect to the live and neutral holes. The display should show the socket’s AC power (255 V)

b - Connect to the live and earthing holes. The display should again read the same value. This is because the earthing is essentially a neutral point i.e. a point for the current to flow out.
(Notice the sight change in the values (263 V). This is an example of a harmless, short spike in the supply)
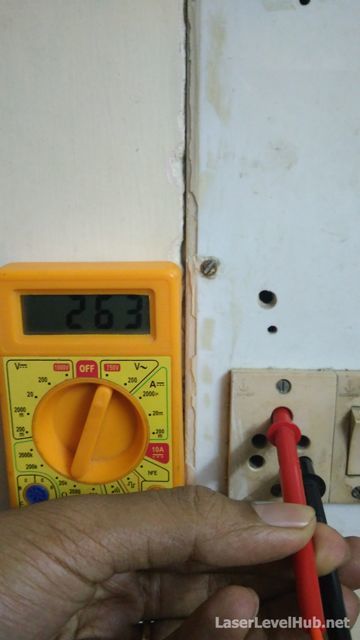
c - Connect to the neutral and earthing holes. Since no power is flowing, the meter should read zero

d - (Optional) Connect to the earthing hole and a screw or a metal around the socket to test ground to ground (this is to ensure there is no current leak in the socket). The display should read zero

e - (Optional) The forth iteration can also be done with other two holes. When connected with the live hole and a screw, the display should read the power value.
This is basically how you use a multimeter to test an outlet. This will give you a good idea that your outlet is functioning as it should and not giving out any leaks. Carry out this procedure at least twice a year if you have small kids in the house.
When using a voltmeter to test an outlet, take the same approach. Use hand gloves while operating analog meters.
Useful Tips and Tricks When Use a Multimeter To Test An Outlet
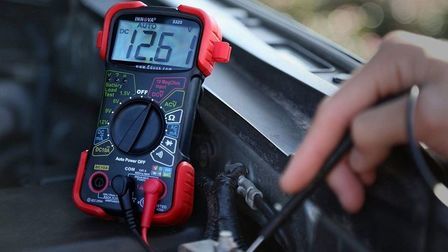
- Always check the battery of the multimeter before testing an AC outlet
- Ensure that the multimeter is capable of measuring the range of voltage that is supplied through your house’s AC outlets. For example, in the United States, this is usually 120 V. In India and other Asian countries, it is 220-240 V
- Do not allow anyone else around the outlet while testing
- Avoid using heavy electronic appliances (central air conditioning, etc.) while testing
- Wear hand gloves if available
- Wear rubber slippers or sandals to avoid contact with earth.
We hope that this guide has helped you understand how to use a multimeter to test an outlet. Remember to put safety first. If you have any doubts, let us know in the comments.

