As there are several different versions of laser level available, it is only wise to explain how to use a laser level in accordance with major versions separately.

Read on the article to learn different types of laser levels and how to use each type.
Also, take your time to check out the following guides on how to use a laser level for home remodeling projects, such as laying tiles, installing cabinets and so on.
How to Use Laser Levels - By Projects
Click on the pictures to go straight to the guide.
What is A Laser Level?
For the uninitiated, let me explain what laser level is.
The laser level makes a perfect and efficient use of the laser beam technology to project a level line of laser across the horizontal or vertical plane.
This line helps you in getting an idea about vertical and horizontal alignment.

It was initially introduced for use on the job site. The early predecessors of the modern laser level were bulky and expensive tools that were too expensive for common use.
The modern laser levels are cheaper and easier to carry around. In fact, it won’t be wrong to say that it has revolutionized the whole construction and other related projects.
The results after using a construction laser level are far more accurate than they used to be and the whole process has been made shorter and more efficient.
Dot/Point Laser Level
This type of laser level is used to make markings or calculations in the same plain it has been positioned it.
It throws a straight beam of light in one plain and helps you in cases when you need marking in one dimension only.
 Bosch GPL5 5-Point Laser Level
This is one of the simplest versions of laser level and can also be called the best laser level for the money as it is quite cheap.
It can be used for simpler tasks as it is less versatile in terms of uses.
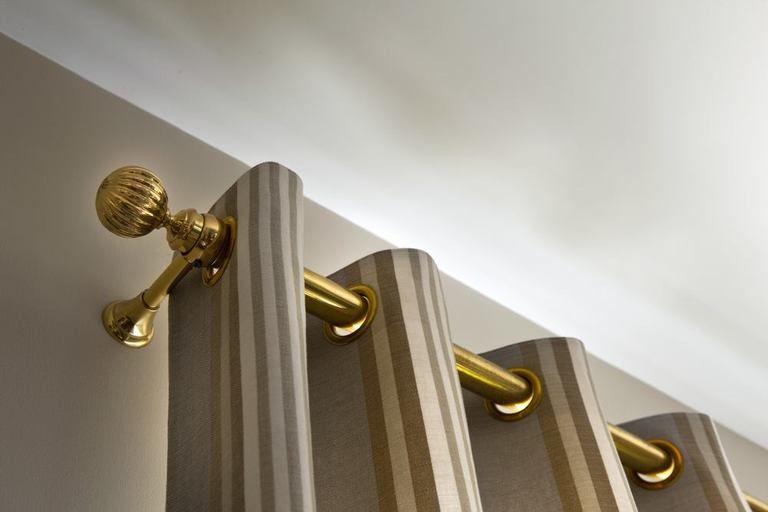
For example, you can use a point laser level to get a new socket in line with others or check the alignment of the pictures on the same wall. You can also use it to hang curtains.
To use the laser level, you have to fix it on the wall or plain surface across which you want to check alignment or make markings.
Next, switch the device on and track the laser beam.
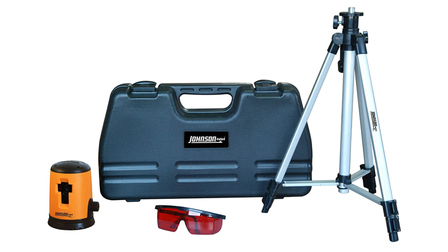
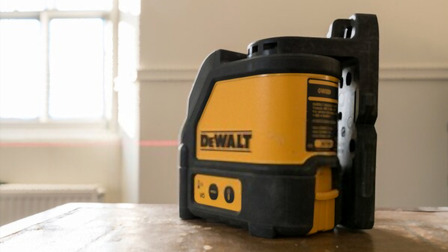
Cross Line Laser Level
This type of laser level is more advanced than the above mentioned. However, like the dot laser level, this type of laser level is mostly for indoor use or home use.
The cross line laser level comes handy when you want a vertical as well as a horizontal line projected on the wall or the plane surface.

To use the line laser level, in most cases, you will have to mount it on a laser level tripod.
You will have to set it up in front of the wall or surface on which you want lines to be projected on.
However, distance here is no issue. It will work perfectly irrespective of whether you place it near or far from the surface.
After you have set it up, all you have to do is switch the laser on.
You can increase or decrease the height of the tripod to calibrate the laser level perfectly.
The lines remove any need of making markings on the surface. So, the time period of your tasks is considerably reduced.
This laser level is useful when you are putting some artwork on the wall or hanging pictures. You don’t need to go through the process of using a metal rule or level.
So, stow away you metal level, rulers, and pencils, and do it in the easier way.
See also: How to Use a Laser Level To Hang Picture?
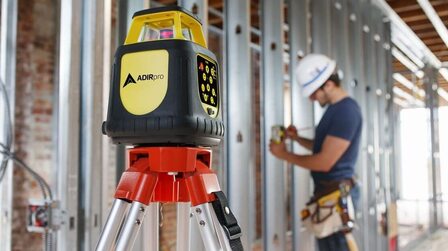
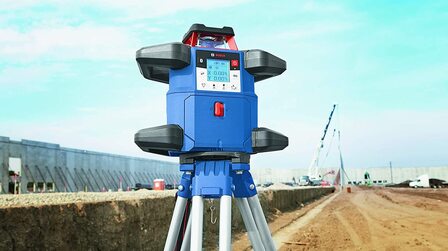
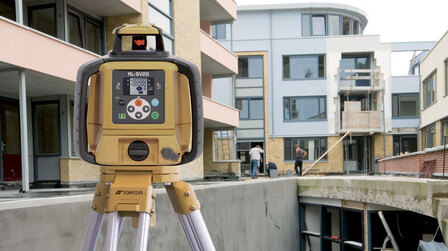
Rotary Laser Level
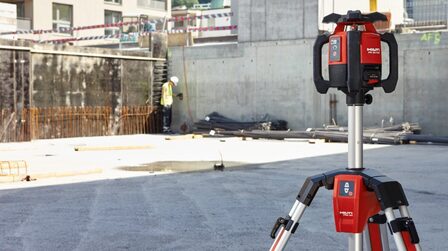
The rotary laser level uses the laser beam and mirrors to throw the laser beam in a 360-degree angle. The projection unit spins at speed to project beam on all sides.
This means that if you are using this laser level in the room, you will see a uniform line drawn on all the walls, making it perfect for leveling windows and doors.
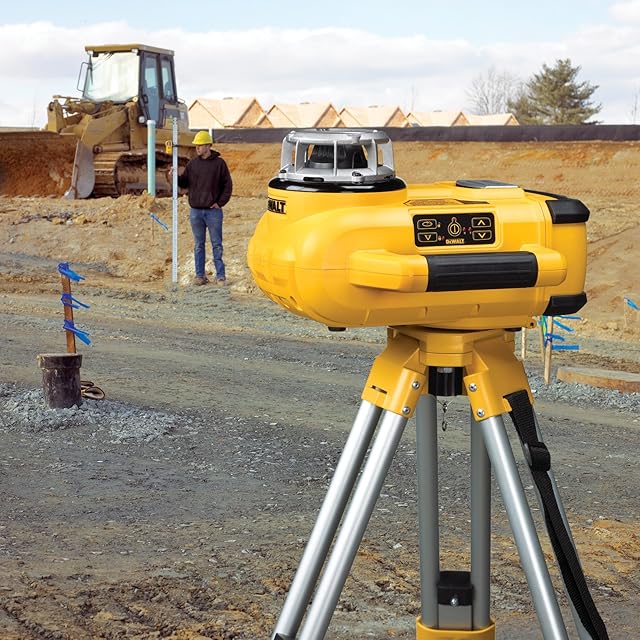
Once again, for the proper use of a rotary laser level, you will need to place it on a tripod or on a level surface.
Otherwise, you risk getting the projection of the level wrong.
Now, depending on the money you have spent, you might have to set the laser level manually.
On the contrary, the self-leveling rotary laser levels accomplish leveling on their own thank to an internal pendulum.
You can also use this version as an outdoor laser level as well. However, you will need a laser level detector to make it work.
Under sunlight or well-lit situation, you will have problems in sighting laser beam, hence, the need for a laser level detector.
In some construction projects, a Rotary Laser Level can be replaced by a ZIP LEVEL - a high precision altimeter which is not only used in leveling but also measures elevations directly.

Learn more about ZIP LEVEL here!
Tile Laser Level
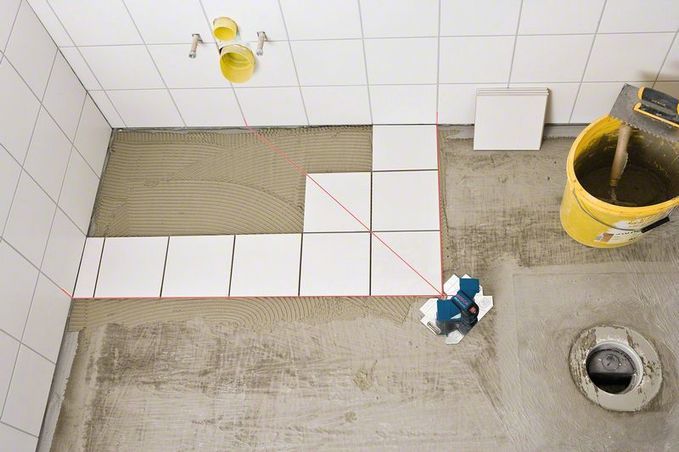
This laser level is mostly used for installing floor tiles. It can throw laser line in the front of the laser base, which provides easy centering.

You have to place this laser level in the corner of the room or somewhere in the middle of the room. Also, you have to ensure that the laser level is placed on the flat surface.
Placing it over a slanting or uneven floor can spoil the alignment and level of the tiles in the whole room. You will notice that the level throws lines between zero and ninety degrees.
Now, although this is laser level for home use, you can use it outdoors as well.
However, if the sunlight is too bright, you might have the problem in seeing the lines. It is well suited for tiling your patio.
Read more: Best Tile Laser Level Reviews
