Keeping your private area safe from prying eyes, nothing can be quicker and cheaper option than building a fence.
While building a wall will be a permanent, but costlier option, on the other hand, a fence will be more economical and reliable too.
Though the traditional way of building a fence is laying the four corner posts and tie string, this one will be very difficult and tedious while working in a larger area.
Moreover, our technological advancement has made our job easier by inventing several tools.

While approaching to build a fence, the first problem that generally occurs is to make the line straight while laying it out.
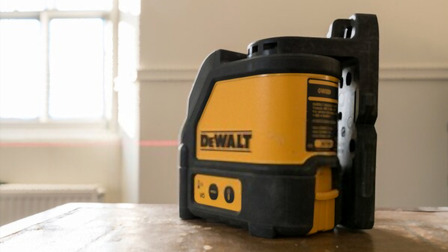
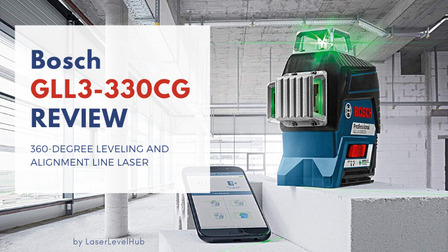
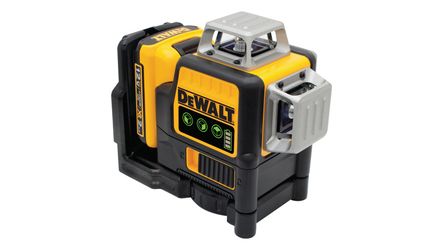
Along with making the fence look good, correct initial steps will save you money, energy and time along with making the work easier and to perform the task, a laser level, can be the best option.
Reducing your effort, it will ensure a perfect straight line for your fence.
Things Will Be Needed
- Wood stakes
- Shovels
- Laser level
- Chalk
- Laser level detector
- Tripod
- Hand level
- Bracket
How to Align Fence Posts with Laser Level
Step 1: Determine the property lines
The first and foremost step, while taking the initiative of building a fence, should be determining the property lines.
With an improper boundary line, you may end up removing the fence after a few days of installation, unless your neighbor is OK with it.
Step 2: Mark the starting point
Mark your starting point with a chalk. For identifying the starting point, you can choose a corner of the intended area or the end of the fence line.
Marking will make the point visible and will ensure better measurement too.
Step 3: Determine a level plan
Now, place a tripod on the marked point and a hand level onto it.
For getting the best output from the laser level, it's really important to place the tripod in a level. Adjust the tripod legs until the bubbles of the hand level indicates a level plane.
After determining a level plane, remove the hand level from the tripod.
Step 4: Place the laser level on tripod
Attach the laser level in its vertical position on the tripod so that the head of the laser level appears sideways.
While adjusting the laser level on the tripod, make sure it will emit a light beam on the ground, which will be in the direction of the fence line.
Step 5: Adjust the laser level
Tighten the threaded bell assembly properly to adjust the laser level with the tripod, unless it may fall from the tripod or may cause the tripod to tip over.
Step 6: Turn on the laser level
Read the manual that derives with the tool properly before operating the laser level, especially if you are using it for the first time.
Each tool has its different functioning buttons, depending on the model you are using, turn on the laser using the corresponded button.
Step 7:
If you are working with a self-leveling device, allow time to level itself.
Generally, self-leveling does not take more than 30 seconds and immediately after the self-leveling, the tool illuminates a laser diode.
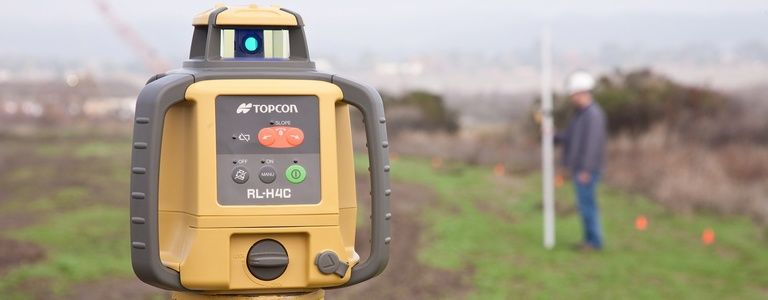
Allow the laser to run in a rotating mode, instead of being stationary.
Step 8:
Now, take the laser level detector and adjust it with the bracket properly.
Lock the bracket along with the laser detector onto a two-by-four wood stake and hold the stake on the next determined place of the fence post.
Step 9:
Move the stake left and right to adjust the exact position of the laser level detector.
The detector beeps when the laser strikes it and indicates the presence of a visible line on its display.
Step 10:
Mark the position with the chalk.
Now, insert a wooden stake on the marked position. This stake indicates the next intended fence post position.
Step 11:
Next, move to identify the position of the next fence post.
Place the laser level detector at the determined point of the next post and repeat the whole process for identifying the exact place of your next fence post.
Place the wood stake to the marked place. Continue the process until you are done with the whole length of the fence position.
Step 12:
After completion of the whole process, insert the fence posts using a shovel at the each staked position.
Now, you should have a straight and aligned fence of your desired length in its position.

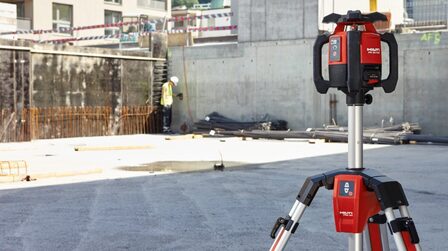
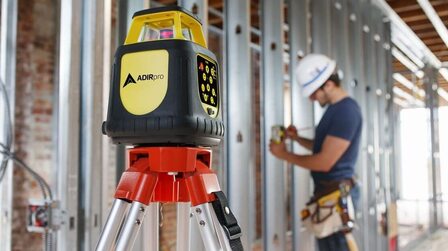
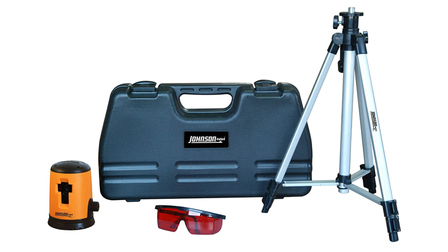
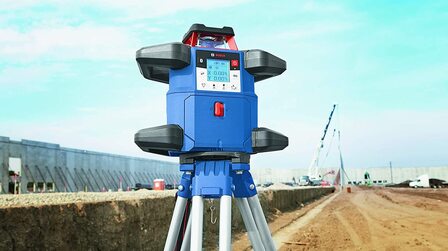
Looking for the best laser levels to help you with aligning fence posts and outdoor projects? Read through my rotary laser level reviews and comparison to get the right one for you!
Final words
An aligned and straight fence, not only look beautiful, but it also assures a proper boundary line that can minimize the misunderstanding between you and your neighbor.
While inserting the fence posts finally, consult the utility company so that you don't hit any dangerous cables accidentally.
Equal attention should be given while working with the laser level. Wear safety equipment to avoid any unwanted injuries.


