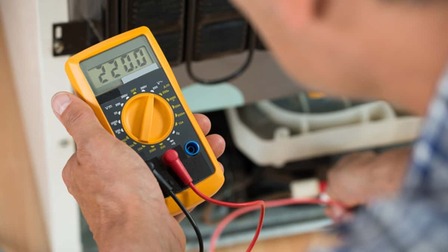
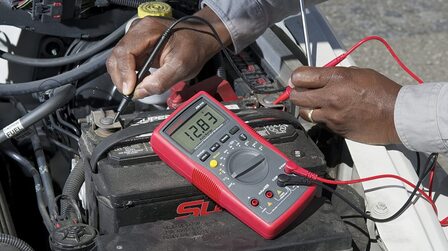
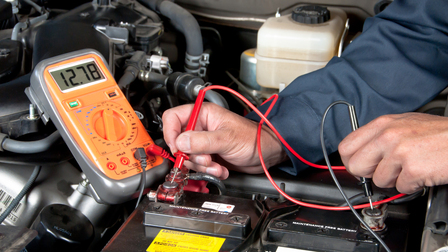
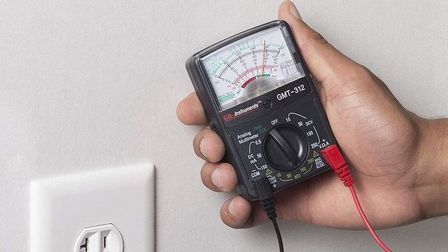
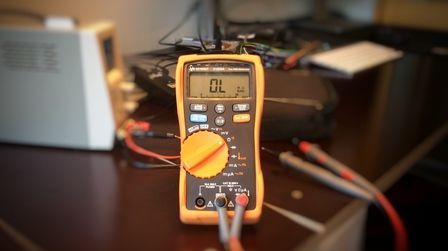
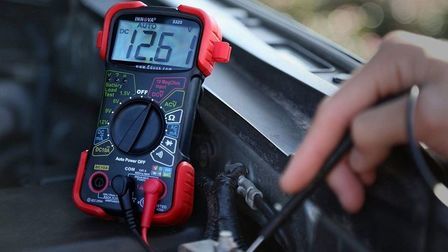
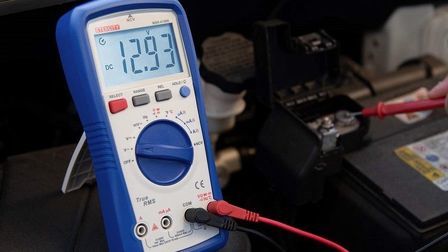
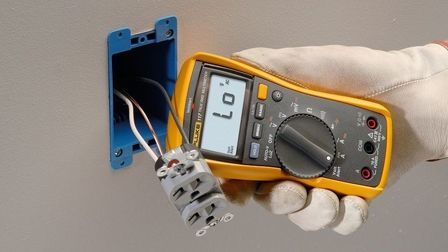
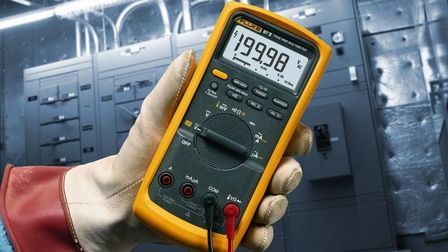
One of the most basic skills of a technician is the faculty to efficiently use a multimeter.
As a beginner, you are looking at a deep understanding of how a multimeter works, how it detects and measures various electrical quantities, and eventually how it converts them to a final value in the digital display.
You may already know the basics, so we will directly jump to the process of how to read a multimeter.
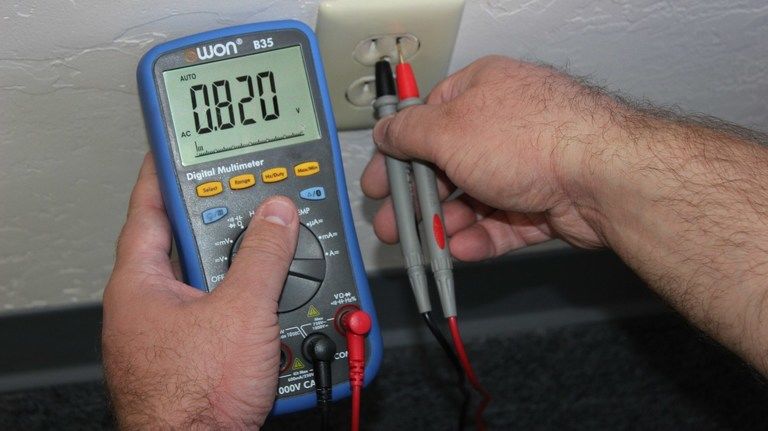
In case you are looking for more information about the operating principle of multimeters, please check out our other guides. This article focuses only on reading a multimeter.
How to Read a Multimeter
The key to reading a multimeter properly is understanding the concept of decimal adjustment. Since the values of all electrical quantities are in numbers, knowing the difference between degrees of units is crucial.
For example, you should know the difference between amps and milliamps as in 1 ampere equals 1000 milliamperes.
If your basics about the SI unit system is clear to the point that you can quickly convert between decimals, then you are already halfway through learning how to read a multimeter.
In fact, the conversion of decimals is the biggest ‘technical difference’ between analog and digital multimeters.
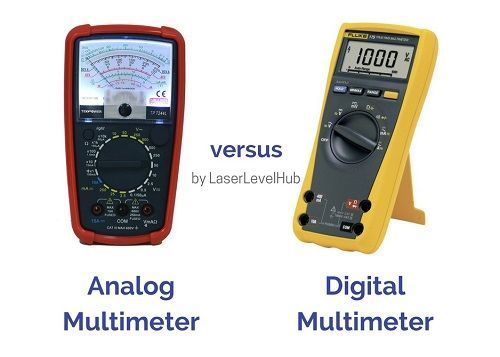
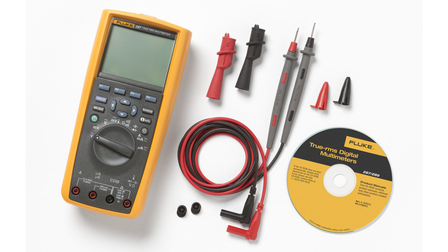
In analog meters, you have to manually calculate the decimals whereas, in digital meters, it makes your job a tad easier. This is the very reason why digital multimeters have become popular, with the American brand Fluke leading the industry for decades.
Now, without much ado, let us learn how to read a multimeter. For this guide, we recommend you keep your multimeter handy and simultaneously carry out the experiments.
How to Read Ohms on a Multimeter
Step 1
Take out your multimeter and a sample resistor (you can get two or more resistors to experiment with)
Step 2
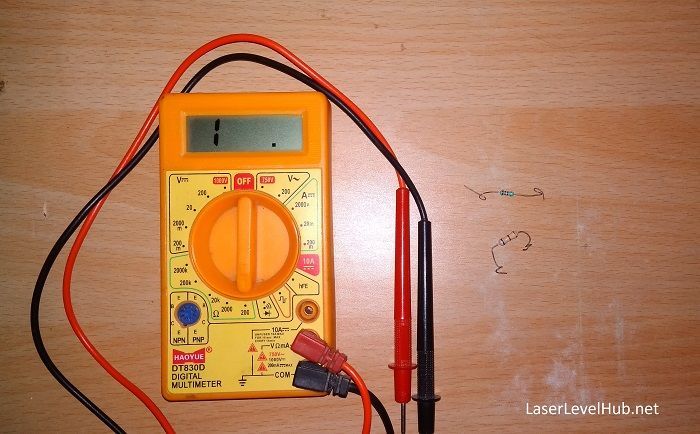
Use the dial switch to select the resistance function in the multimeter. You can switch to the lowest range in the section
Step 3
Connect the test probes to the resistor and observe the display. This is where you need to concentrate.
For explanation purpose, let’s assume that the value of the resistor is 672 ohms (which we derived from the color coding technique)
Step 4
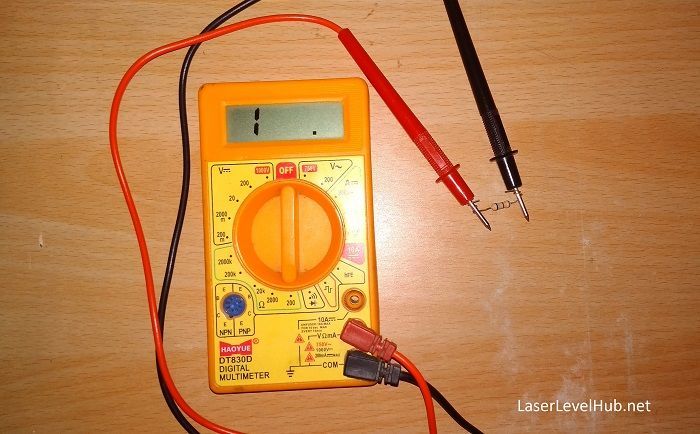
Since the dial is pointing at the 200-ohm range, the display is not showing the proper reading. Why?
Because the value of the resistor is beyond the range. In this 200-ohm range, the multimeter can only detect and measure resistance below that number. Anything above that will require a higher range
Step 5
And the higher range in this multimeter is 2000 ohms. So, you need to move the dial to that range so as to get a proper reading.
The display will show the value as 672 because it falls within the range. Had the resistance value been more than 2000 ohms (or 2k ohms), the display would still not give a proper reading.
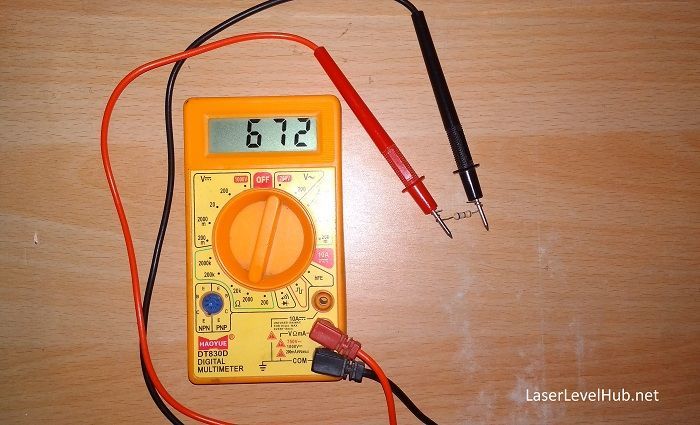
Now this is where the measurement gets interesting. You got the value as 672 when you moved the range switch to 2000 ohms, right?
Now try moving it to 2k ohms. You will see that the reading has changed from 672 to 0.67. So, the reading will be read as 0.67k ohms which translates to 670 ohms
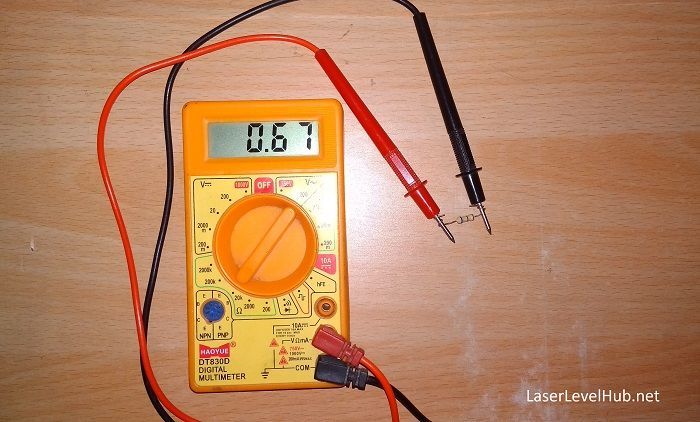
Go one level higher (200k ohms) and you will see that the reading shows 0.7, which translates to 0.7k ohms.
The difference between these two readings is the position of the decimal point (observe where they are in 0.67 and 0.7)
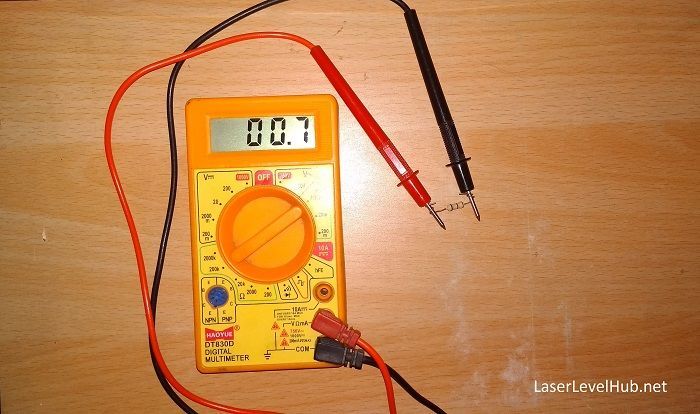
What this range selection basically does is expand the multimeter’s ability to measure resistance.
In the above example, had the value of the resistor been 3k ohms, we would have to further up and select the 20k-ohm range.
This will be clearer in the following steps.
Step 6
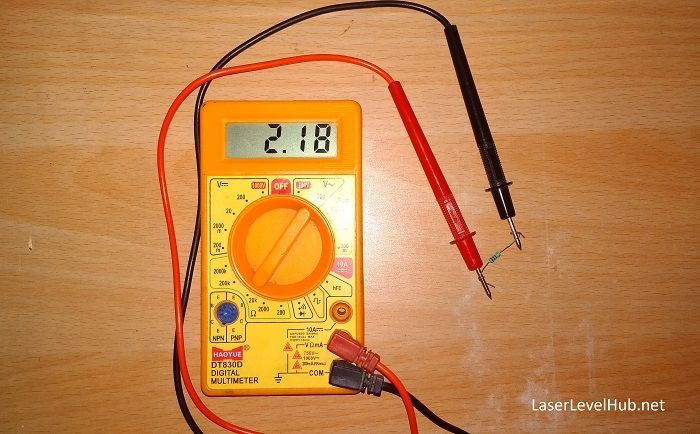
Here’s another example where the reading shows 2.18. So how do you ascertain the exact value of this resistor? First, check the range
Step 7
Now take the number shown on the display and place it between the current range point and the lower range point. In this case, the current point is 20k-ohm and the lower point is 2000-ohm.
Step 8
Since the value is between this range, which translates to between 2k and 20k ohms, we can confirm that 2.18 is, in fact, 2.18k ohms.
Step 9
If this sounds confusing, visualize a scale where this value is above 2k. If the number “2.18” has to be more than 2k, then it has to be 2.18k. Right?
At first attempt, the ranges and decimals can be tricky. But as you experiment with more and different resistor values, reading ohms on a multimeter will become easier.
Remember that the key is to focus on the range selector; the measurement part is easy.
How to Read Voltage on a Multimeter
The process is similar to how you measured resistance. Instead of the resistance function, you have to select the volts function in the multimeter.
In most multimeters, the sections for DC volts and AC volts are separate, so make sure that you select the right function while measuring.
The range selection is also the same where you select the higher range when measuring the voltage that you presume to be on the lower side.

For example, if you are testing a 9-volt battery, the range pointer should point at 20 volts (DC) because it is the highest range for this measurement. Only then will the display show a proper reading.
In case you are measuring amps on a multimeter, make sure you check the rating. Most multimeters are incapable of measuring amps higher than 10A DC or AC.
A Note About the Best Multimeter Brand
According to us, Fluke is one of the best multimeter brands. Although there are various other manufacturers, Fluke remains to be the leader because it is the popular choice.
In the unlikely event that you have not yet bought a multimeter, we would recommend a Fluke meter.
Conclusion
We hope that this short guide has helped you understand the basics of multimeter reading. Just remember the key points about function and range selection, and with enough practice, you can become a master multimeter tester. If you have any comments about how to read a multimeter, let us know in the comments.

