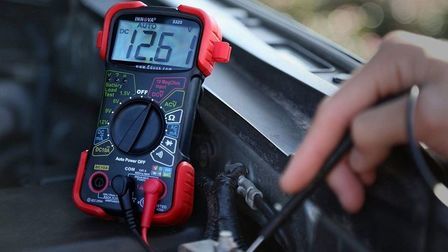
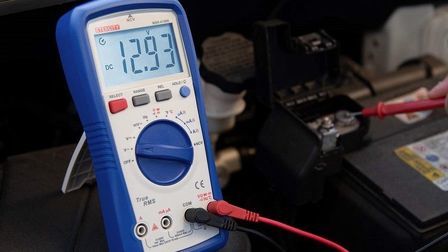
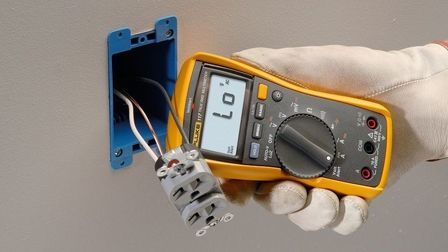
One of the most common applications of a multimeter is measuring current in an electrical circuit. And every budding electrician should know how to go about it.
Whether you want to measure AC amps or want to check the amperage of a system, how to do it using a multimeter is an important skill.
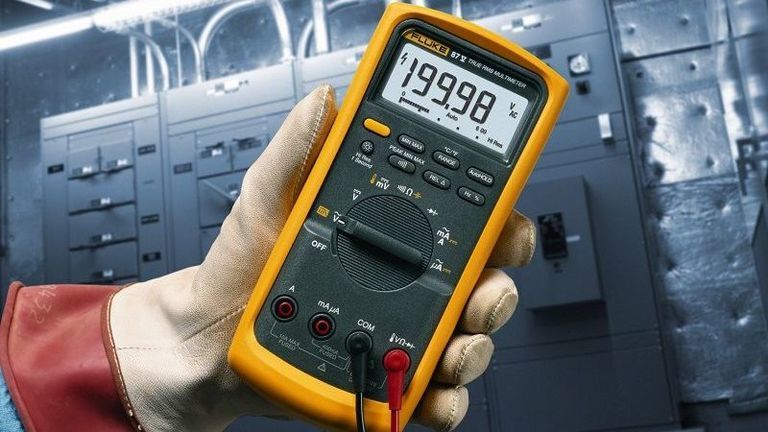
Today, we will go through the steps on how to measure current with a multimeter and you will also learn few helpful tips on the way.
What is Current?
Current is the directional flow of electricity from a power supply to a load. Measuring it means you are measuring the quantity of electricity that is being supplied to a load.
There are two types of current – direct current (DC) and alternating current (AC) – and the chief difference between them is the cycling process.
A multimeter measures current using ADCs and a set of registers that convert the analog signal into a digital value.
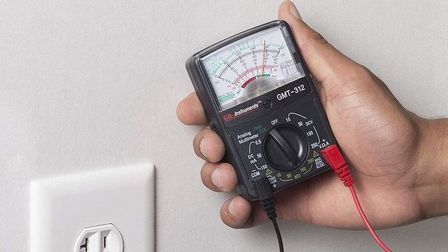
When you use an analog tester, the conversion does not happen and you can directly detect the current and also observe fluctuations in the scale meter. However, to ease the process, we will be using a digital multimeter.
In our day to day life, DC is what you find in batteries and use in your smartphone charging. On the other hand, AC is what you get on your home’s power supply mains.
An electrician should know these basics and use this knowledge wisely while measuring current.
See also: Best Clamp Meter For Measuring Current
How to Measure Current with a Multimeter?
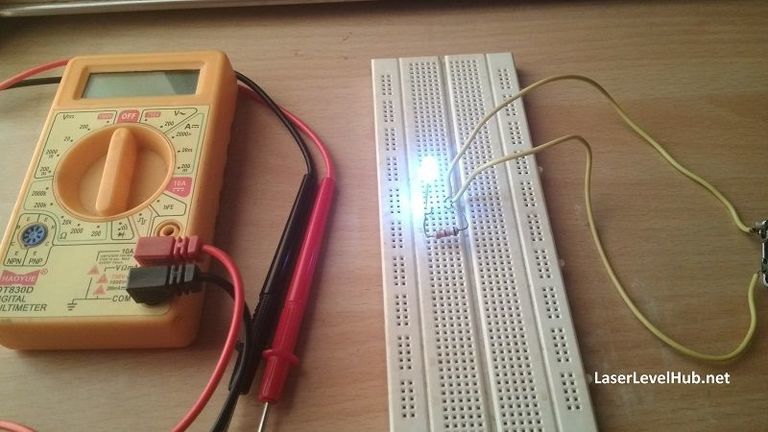
For this guide, you will require a digital multimeter and a sample circuit. We have assembled a simple circuit using a white LED, a resistor, and a 9-volt battery.
You can observe the breadboard to recreate the circuit at your end. We will be measuring current that flows from the battery (power supply) to the load (LED bulb).
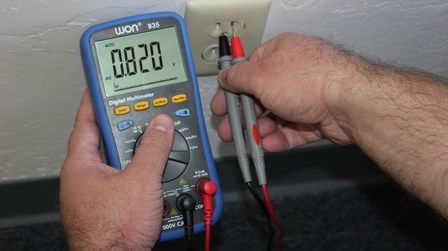
Since the power supply here is a battery, we will measure DC amps. Had we been testing an electrical circuit where the supply is coming from a wall socket, we would need a multimeter rated for AC current measurements.
Following are the steps involved in measuring current with a digital multimeter:
Step 1
Take out your digital multimeter and the breadboard and place them on a table
Step 2
Switch ON the multimeter and select the current function. In the multimeter in the first image above, the DC current function is on the right side of the dial. Select the lowest range (2000µ amperes for this multimeter)
Step 3
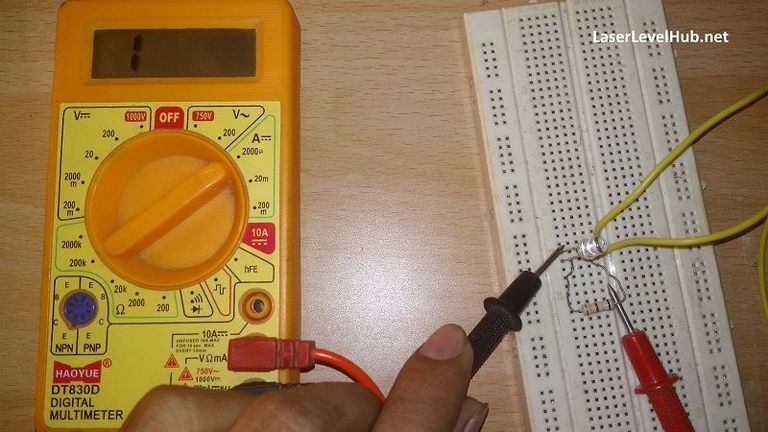
Use the test probes and carefully connect them in the following fashion. Since we are measuring current it is important to take note of the polarity
- Point the red test probe to the anode of the LED. You can determine the anode of the LED by observing its leads; the shorter one is anode and the longer one is cathode
- Point the black test probe to the resistor terminal
Step 4
The multimeter should display the corresponding current that is running through the circuit.
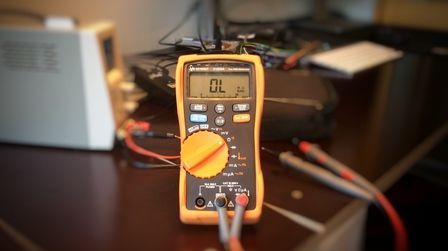
If it does not (and instead shows a 100% resistance), then you must change the current range. Note how the range is currently set at 2000µ
Step 5
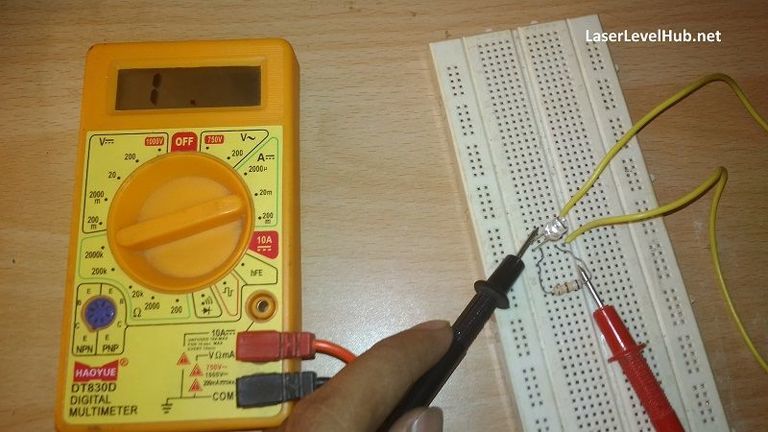
We changed the ampere range to 20m and then tested the circuit. There is no change in the reading. What this also shows is that the value of the current is higher than the range (i.e. 20m amperes)
Step 6
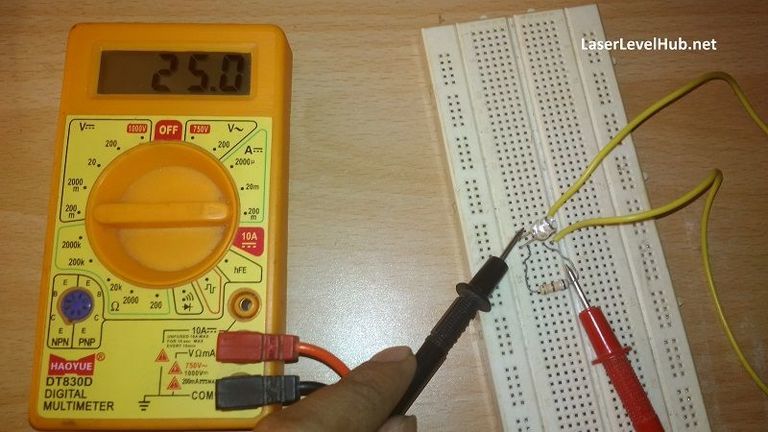
We again changed the ampere range from 20m to 200m and then tested. Notice how the reading shows 25.0 milliamperes
Step 7
You can also note how the current never stays constant as it shows the movement of electrons through the circuit. Because the current flow is less than 200m amperes, the display showed the value.
Should you test higher currents, you must change the range as described below. Unfortunately, the range of this multimeter is only till 200 milliamperes
This is the basic process how you measure current using a multimeter. The idea is to keep the test probes between the two leads of a load. In our case, the load was the LED bulb so we pointed one probe at the anode and the other at the opposite side.
Since this was low DC amp measurement, we used our bare hands while testing. However, it is highly recommended that you wear proper insulating gloves while testing circuits that have high current ratings. Anything above 500mA is a cause for concern.
How to Know Which Current Range to Select?
While measuring current using a multimeter, it is common to get confused as to which range to select. In order to avoid the confusion, you can follow these simple tips:
- Always start with the lowest range
- Change the range while measuring the quantity. This way you can set the correct range as per the value of the current being measured
- Read the value against the unit that you have selected. If you have selected the 2000µ-ampere range, then the value being displayed should be appended with a ‘µ’ (mu or microampere). If it is the 20m-range, then it is ‘m’ (milliampere)
The key to range selection in the assumption of the current being measured.
Note About High Current Measurement
You should always use insulated hand gloves while measuring high values of current.
The other point to be noted while measuring current is the probe connection. For current measurement of up to 200m DC amps, you can connect the probes like this:
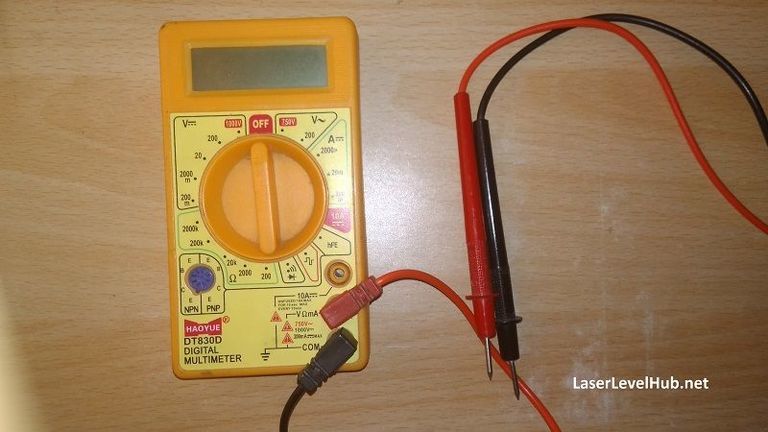
For anything above that and up to the range of 10A, they should be connected like this:
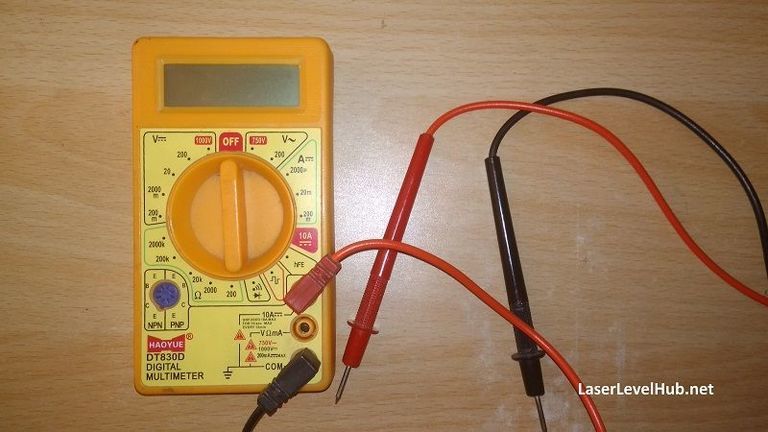
Take extra care while measuring high current values as there is a higher possibility of shocks. There are multimeters available in the market with which you can measure high-range DC and AC amps.
Conclusion
We hope that this quick guide has helped you understand or brush up on the process of how to measure current with a multimeter. In case you have any doubts, don’t hesitate to mention them in the comments below.

